Table of Contents
Table of Contents
- How to manage your landscaping before and after photos
- What are the best practices for crew photo documentation?
- How well-documented photos help landscaping businesses grow
- What mistakes should you avoid when organizing landscape photos?
- What are the best tools for storing and organizing field photos?
- Over to you!
- Frequently asked questions (FAQs)
Taking before-and-after photos of your landscape design is good practice because it:
Showcases the value of your work
Builds credibility with customers
Supports sales and marketing efforts
Protects the business in case of litigation
But it can quickly become a limitation when images are scattered across employees' phones, shared drives, text threads, and job folders, with inconsistent naming conventions.
To avoid operational chaos, you need a system to organize before-and-after photos, reducing confusion and saving time.
That’s what this article covers.
How to manage your landscaping before and after photos
If your landscaping photo catalog is messy, here are practical ways to get it organized:
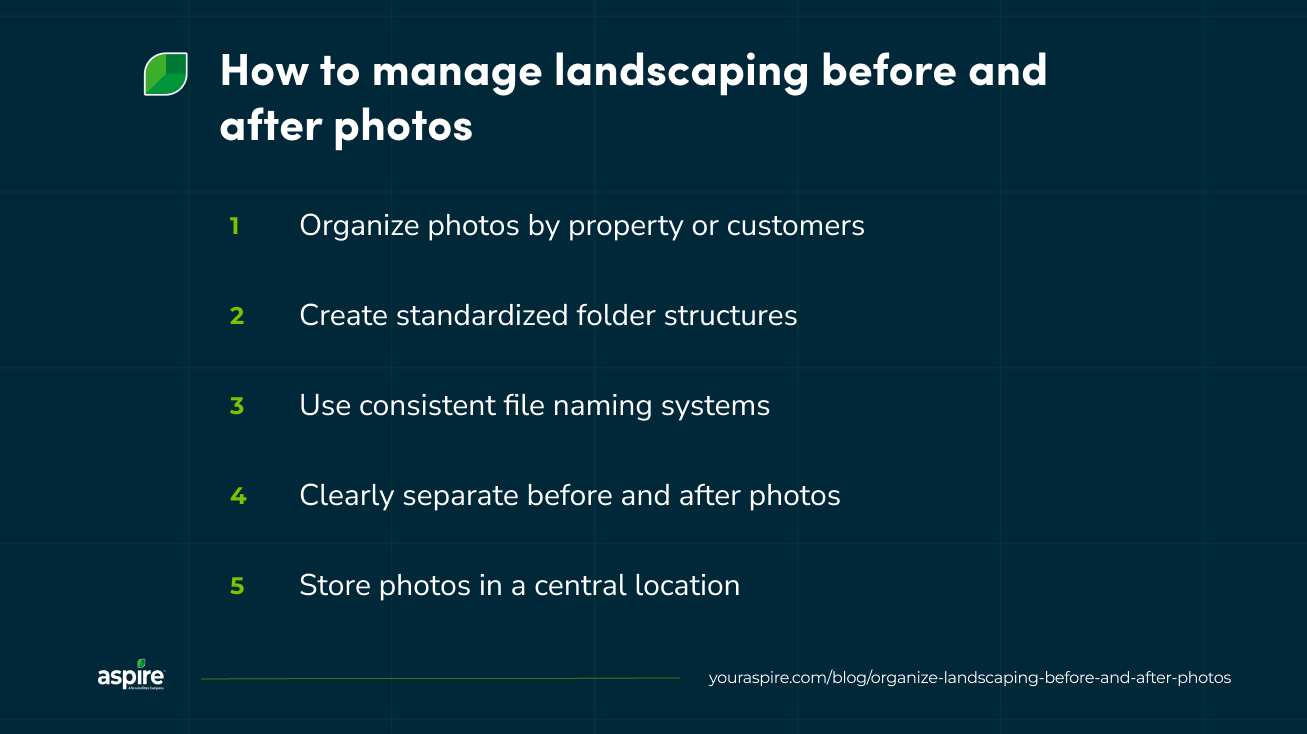
1. Organize photos by property or customer
Grouping images by address or customer name is a quick way to find them later.
For example, a top-level folder named "142 Maple St - Johnson Residence" keeps visits to the property centralized, making it easy to track a property’s history, compare the current work with last year’s, or return for future upsells or seasonal work.
2. Create standardized folder structures
Standardizing your folder hierarchy gives photos a predictable destination and ensures your photo library stays organized.
A consistent structure, such as Year > Customer > Job Type, helps every employee, new or experienced, quickly file and find project documentation.
Here’s what that could look like: 2026 > Johnson Residence > Sod Installation.
3. Use consistent file naming systems
Another thing you can do is use descriptive file names for photos, e.g., customer-service-date-before/after, to easily identify them without opening them.
This way, you can scan hundreds of files when looking for specific data or export a batch of images for marketing or a proposal.
For example, johnson-front-yard-landscaping-07132026-before.jpg tells you the customer, service, date, and project stage at a glance.
4. Clearly separate the ‘before’ and ‘after’ photos
For easy identification, it’s always best to differentiate between the ‘before’ and ‘after’ photos.
While the client’s name and service date are good, a simple split, like adding before or after to each image’s name, will improve clarity for the marketing and operations teams.
Names like johnson-sod-mulch-07132026-before.jpg and johnson-sod-mulch-07132026-after.jpg remove any ambiguity for whoever pulls the photo.
5. Store photos in a central location
Unify your photo storage in a single, shared location, such as Google Drive, to ensure easy access for the entire team. This centralized approach removes the stress of tracking down specific crew members or searching for missing files.
Dedicated platforms like Aspire streamline this workflow with integrated mobile applications. Photos captured by field crews are uploaded directly through the app, bringing all project documentation together in one secure record.
What are the best practices for crew photo documentation?
Photo documentation is a small cog in the landscaping business machine that can either simplify or complicate your workflow.
Even though it helps provide social proof or marketing assets, taking photos without a defined approach can become chaotic. Field teams wonder who took the pictures, whose phone was used, where they were stored, and what they were named.
To avoid that, here are practices that can streamline this workflow and keep things organized.
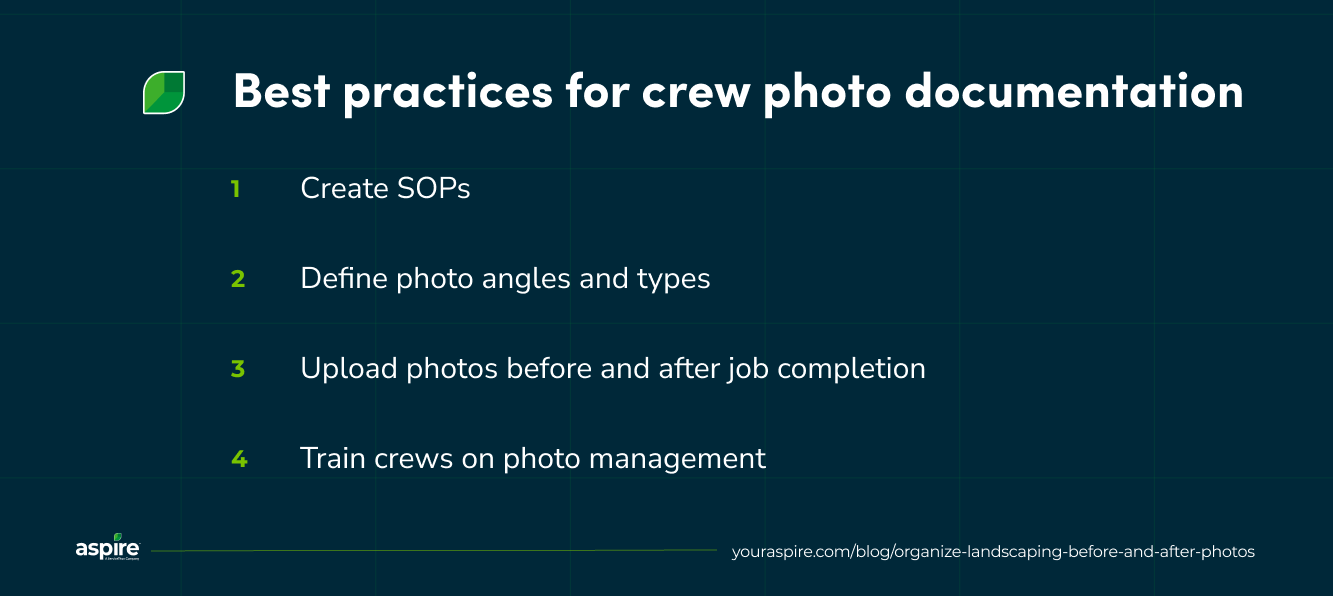
1. Create SOPs
A standard operating procedure (SOP) ensures that the crew documents each job consistently, regardless of who is on site.
When creating an SOP, outline when and how photos should be taken, the required number of photos, naming convention, quality expectations, and the upload deadline.
This ensures that photos are easier to review and prevents important documentation from being missed.
2. Define photo angles and types
Part of the SOP’s ‘how’ section can include photo requirements to ensure consistency.
For example, include wide-angle shots of the entire property, including the front porch, side yard, or swimming pool area; close-ups of completed work, such as retaining walls; before-and-after comparisons; and photos of any existing damage or customer concerns.
Using the same angles for every project makes it possible to compare work over time and ensure consistency across photos.
3. Upload photos before and after each job
Make it a practice to upload photos before work begins (the ‘before’ photos) and right after the project is completed (the ‘after’ photos).
This reduces the risk of lost images or spending time searching for that one good photo a crew member took.
It also ensures office staff can keep track of project progress in real time.
4. Train crews on photo management
Creating the new photo documentation SOP and informing the team about it is great, but it probably won’t move the needle if you don’t show them how to execute it.
Demonstrate how to take well-lit photos, avoid blurry or obstructed images, and upload files correctly using your field service software or mobile app.
You can also organize periodic training to reinforce expectations and improve consistency across teams.
How well-documented photos help landscaping businesses grow
Good photo documentation isn’t just a nice-to-have for landscaping companies; it can help grow the company too.
Here’s how:
Improve upsell opportunities: Your crew just finished a sod installation project and shared photos. While looking at the before-and-after pictures of the property, you notice a big tree that, if removed, could improve the curb appeal of the house.
You also see that the customer could benefit from additions such as a pergola, fire pit, or defined seating area. Using the photos, you can create a mockup showing the client what their outdoor space will look like once the upgrade is complete.
Build customer trust: High-quality before-and-after photos serve as powerful visual assets for marketing campaigns and give prospective customers practical design ideas.
They showcase the exceptional results and landscaping ideas your business delivers to prospects on platforms like Instagram, Facebook, or Google Business Profile.
This builds trust, as potential clients, including homeowners planning the landscaping for a new house, see completed backyard makeover projects, for example, on properties similar to theirs and become confident that you can do the same for them.
Customers can find you online: When you share photos of completed projects in your region on social media or your website, search engines can connect your business to people searching for landscaping or lawn care services. Adding photos to your Google Business Profile could also help your business rank higher in local search results.
What mistakes should you avoid when organizing landscape photos?
Need to ensure your business’s photo management is seamless?
Here are mistakes to avoid:
1. Relying on crews’ personal devices
If you want to keep things organized, discourage employees from using their personal phones to store job photos, as it increases the risk of losing photos when devices are damaged, replaced, or the employee leaves the company.
A better approach is to have crews upload photos to a cloud-based platform or company-approved app like Aspire.
2. Inconsistent file naming system
You need a standardized naming format to find photos quickly.
Create a system that includes details such as the customer's name, property address, service date, photo type (before or after), and job ID, if applicable.
3. Failing to centralize storage
Storing photos across multiple phones, text threads, email threads, or local computer folders increases the chances of misplaced files.
To avoid confusion, ensure job photos are centralized in a single location accessible to all relevant personnel.
4. Forgetting to back up photos
While dedicated unified storage simplifies access, accidents happen, and without a backup, you could lose all project records.
Make it a practice to back up landscape photos to the cloud or an automated backup system to protect your data.
Multiple copies help you retrieve important images when needed or clear the primary storage to free up space.
What are the best tools for storing and organizing field photos?
The right software should provide centralized storage, be accessible to field and office staff, and be easy to search.
Here are some categories to consider:
1. Cloud-storage tools
These include Google Drive, Microsoft OneDrive, Dropbox, and Box, which allow teams to create folders by customer, property, or project and automatically sync files across devices.
Most of the software in this category offers permissions, version history, and automatic backups, making it a good option for companies that don’t yet have a dedicated landscaping tool.
2. Field service management software
Field service management software like Aspire makes it easy to access project photos on the same platform, alongside estimates, schedules, and customer records.

Instead of switching between apps, you can access project documentation from a single job file. Some tools allow crews to upload photos as work progresses in the field, giving the office staff real-time visibility into completed work.
3. Mobile apps for crew uploads
Field service management platforms like Aspire have mobile apps that make it easy for crews to capture and upload photos while they’re on site.
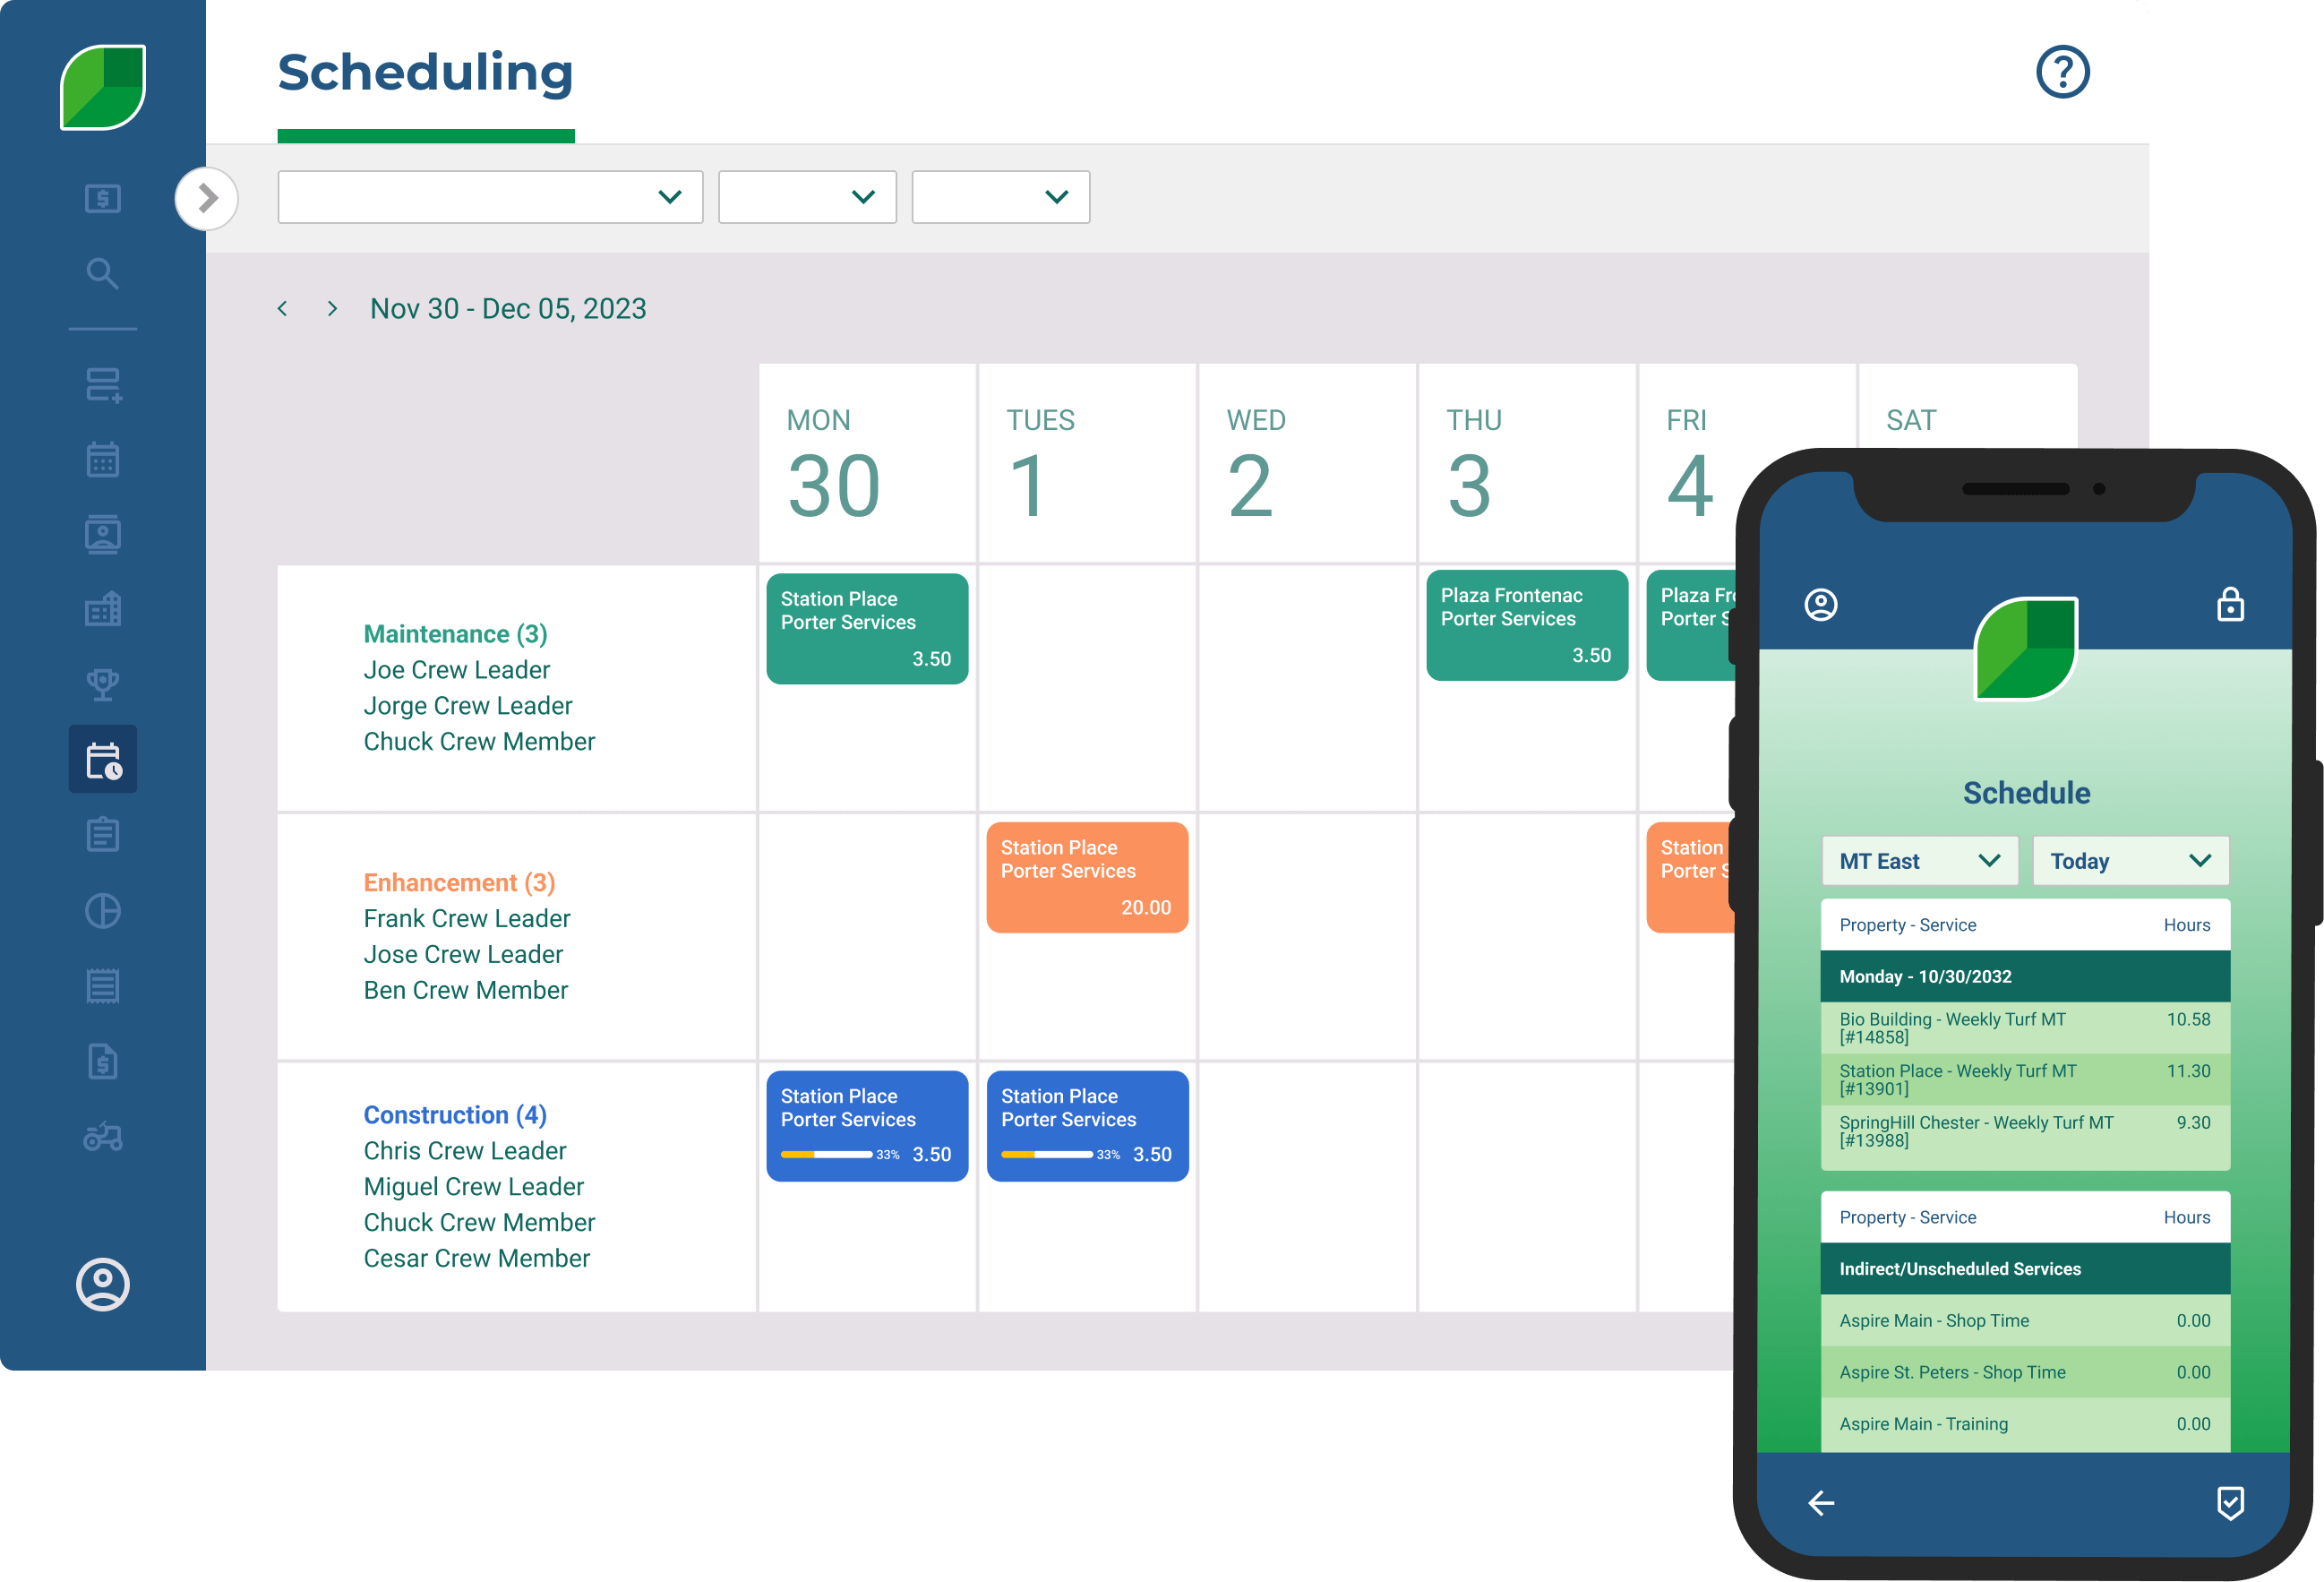
Images are attached to the correct property or work order, reducing the risk of misplaced files or forgotten uploads.
Over to you!
As a landscaping business, having a defined workflow for every aspect of your operations, including photos, keeps your team efficient and organized.
By standardizing how crews capture, name, store, and upload photos, you create a consistent record of every job.
If you want to streamline photo management alongside scheduling, job tracking, customer records, and reporting, our landscaping management software, Aspire, can help centralize everything.
This way, projects are well organized from start to finish.
Book a free demo with Aspire to see how it’s done in real time.
Frequently asked questions (FAQs)
1. How can I effectively organize and present before-and-after photos of my landscaping project?
You can organize landscaping photos by:
Categorizing them by customer, property, or project ID.
Using consistent file names that describe the photos, e.g., johnson-sod-07132026-before.jpg.
Capturing photos from the same angle and lighting condition to show transformation.
Present them side by side in proposals, project reports, and social media posts, or on a Google Business Profile or website, to showcase the results of your work.
2. What are the best DIY tools for before-and-after photos?
The DIY tools for storing before-and-after photos include Google Drive, Dropbox, or Microsoft OneDrive.
Your crew takes the photos on their smartphones, renames them, and uploads them to the appropriate drive folder.
You can also use simple photo editing software like Canva to crop, label, and create comparisons, especially if the photos are intended as marketing assets.
3. Why do landscaping businesses need an organized photo system?
Landscaping businesses need an organized photo system to easily find project images for quality assurance, marketing, dispute resolution, or client communications.
It helps create a visual history of each property, improve collaboration between office staff and field crews, and showcase completed work to prospective clients.













 866-727-7473
 Schedule Demo
 390 S Woods Mill Rd #300 Chesterfield, MO 63017


